
|
Warning: You have deviated from the Orientation Pathway. |
| The section or article below may contain spoiler content. Information on these hidden sections may ruin the fun if you have never played the game. Do not expand these sections if you want to find these out for yourself. Anything learned cannot be unlearned. Read at your own risk. |
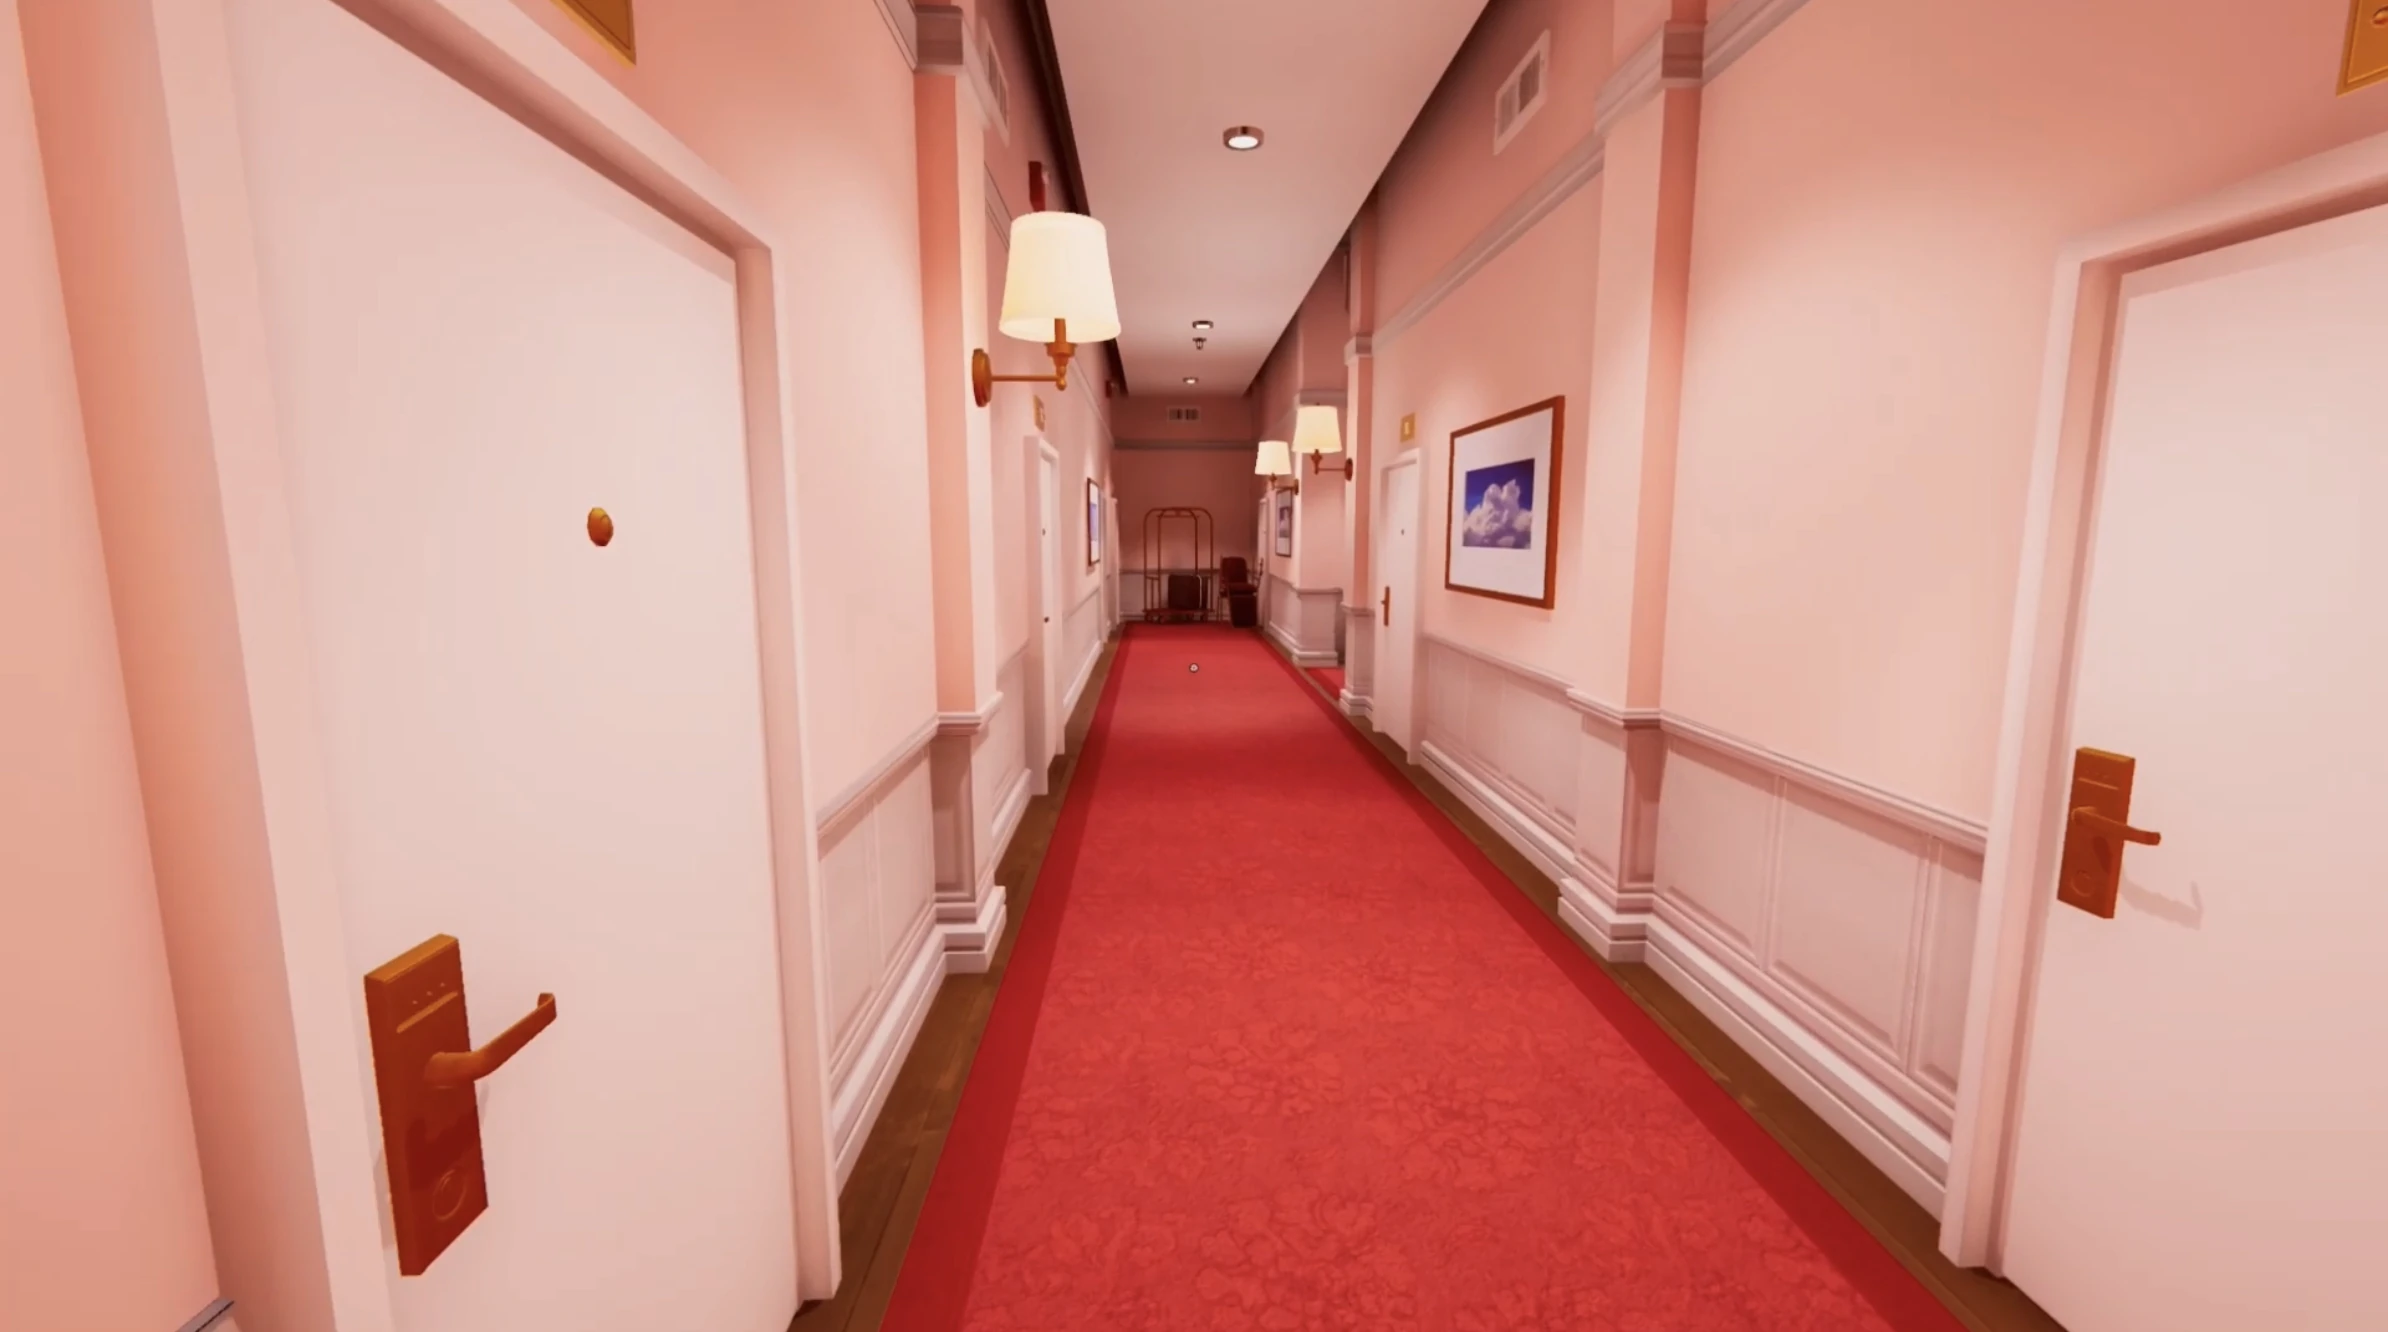
Optical is the second level in Superliminal. This level focuses on optical illusions in what seems to be a fancy hotel setting. A new mechanic is introduced in this level, where flat projections of objects on the wall they are viewed from the right perspective can become actual three-dimensional objects when grabbed.
Walkthrough
Optical begins in a yellow hotel room (labelled Suite E). The player will "spawn" here for many levels after this.
- Head out of the yellow reception area into the pink-walled hotel.
- Take the first left then a right to reach a grey door with an exit sign above it. Grabbing the door will take it off it's hinges. Do so and continue to the next hallway.
- Turn right at the hallway's fork and enter the last room to the left. This room gives the illusion that it is a dead-end but entering it reveals a hidden hallway to the room's right.
- Follow the hallway into the room inside the warehouse. Use one of the four green exit signs to create a ramp over the inner room's walls. Exit the warehouse through the door near the boxes.
- Continue down the hallway and enter the room with the double doors. The picture of a checkered cube is imprinted on various pieces of furniture in the room. Align the imprints so that the cube picture is complete. When aligned, the cube will transform into an interactable 3D object. Use this to reach the raised exit at the hallway's end.
- To save time, the checkered cube from the previous room can be used again to reach the raised exit of this hallway (though this is likely not the intended solution). Otherwise, enter the room with the double doors. Align the imprinted image of the vase on a table to make it 3D. Now the same can be done to the checkered cube. This cube, unlike the previous one, has steps inside of it. Use this to reach the raised exit situated across from this room.
- Take the checkered cube from the previous room and use to reach the left platform. Align the emergency exit door to materialize it. Take the door off its hinges. The exit will now appear at the end of this room.
- Proceed up the stairs with the yellow railing and enter the door to the right.
- Align the checkered cube imprint on the roof. Use it to reach the raised platform. Stand on the edge of the platform with the yellow railing to properly align the giant, cyan king piece. Moving this piece will reveal the room's exit.
- Continue through the room with the crane, along the bridge in the warehouse room and along another pink hallway.
- Enter the large room with the open skylight. Grab the moon above and lower it to the floor (note that the moon is unaffected by gravity). Enlarge the small doorway atop the moon so it can be entered.
- Continue down this maintenance hallway and enter the elevator to end this level.
Elevator Poster
This is the first elevator and poster the player encounters, considering they are absent in Induction.
This poster's background features two lounging chairs, side-by-side, overlooking the sea. The title says 'SEIZE THE DAY, other Somnasculpt resorts are waiting for you'. With this level the environment changes to one of a peaceful hotel, completely unlike the sterile testing rooms that made up the previous chapter.
The poster text reads:
Ohhhhhh, the French. We all know them for their excellence in crafting incredible vacation experiences. Well, now we have a resort there. Well, technically, it's in your mind. Just as good though.
Trivia
- This level strangely uses the same background music as the main menu.
- There is a literal Easter egg on top of the first part, it has a sky-like texture.